mini masteries and etcg
A lot of our members use eTCG to manage their cards, so if you would like to display the mastery in the usual manner you will have to use a slightly different method. There are two that are quite simple, though we are currently working on a slight alteration to ETCG to separate your Mini Masteries from your regular ones.
PLEASE NOTE that these codes were initially created for Onstage, and some of the images still reflect that. This should go without saying, but THE IMAGES THAT SHOW ONSTAGE WILL OBVIOUSLY SAY IDOLISE FOR YOU and these images will eventually be changed out, but it is not currently a top priority.
Method One (Recommended)
First, open your FTP program and find the folder that contains your card images.
Visiting our main Mini Mastery game page, save the ten cards you've collected, renaming them according to the theme and in sequence. For examaple: bp-asifitsyourlastjennie01 will become mm-girls01, rv-icecreamcakewendy02 will become mm-girls02, etc.
Upload these newly saved cards to your card directory.
Ensure you remove the original cards from your categories in ETCG, or your card count will raise with the next step.
Create a new collecting deck titled whatever you've named your cards (in this case, mm-girls).
Manually enter your card numbers, making sure not to click "auto" or "grab from categories".
Click submit! You should now be able to master the deck like you normally would and upload your custom mastery image.
Method Two
First, open your FTP program and find the folder that contains your card images.
From here, rename each of the cards you're using to master. For example: bp-asifitsyourlastjennie01 will become mm-girls01, rv-icecreamcakewendy02 will become mm-girls02, etc.
Ensure you remove the original cards from your categories in ETCG, or your card count will raise with the next step. In the off chance you have doubles of these particular cards in other categories, you may notice a broken image on your page immediately after renaming the card in your directory. Simply clicking 'Update' for that category will refresh the image and reupload the original under the correct name, fixing any broken images.
Create a new collecting deck titled whatever you've named your cards (in this case "mm-girls")
Manually enter your card numbers, making sure not to click "auto" or "grab from categories".
Click submit! You should now be able to master the deck like you normally would and upload your custom mastery image.
DISPLAYING MASTERIES
Although eTCG is a gift from Heaven, it lacks one thing: The ability to separate mastered decks of a different size from one another, without making a few small modifications. For those of you who are OCD like me, the idea of smaller badges mixing in with your full sized ones is stressful and it will make for an ugly page, which is why we've come up with this simple technique that allows some flexibility.
I'm hoping these step-by-step instructions are incredibly clear, but if you have any questions at all, I recommended shooting us a tweet or DM, as the text limit has been lifted and it will make helping you a whole lot easier.
It'll look like this:
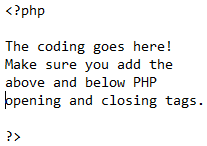
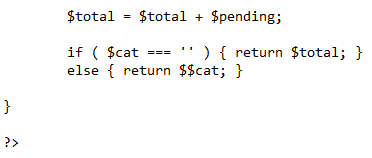
FIND
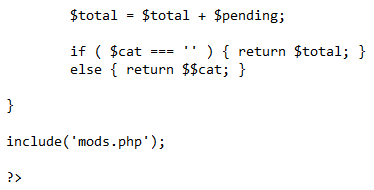
REPLACE WITH
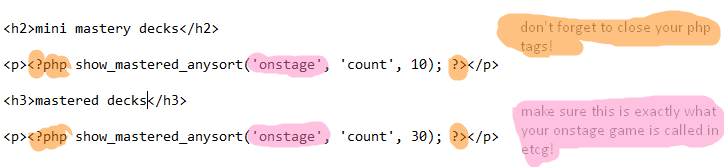
It should look like this ( the opening and closing tags are highlighted ):
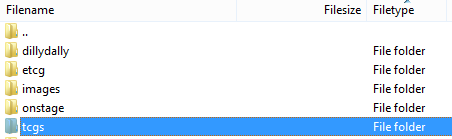
Personally, my idolise.php file is inside of a directory called /tcgs, so I start by enterting that.
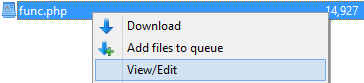
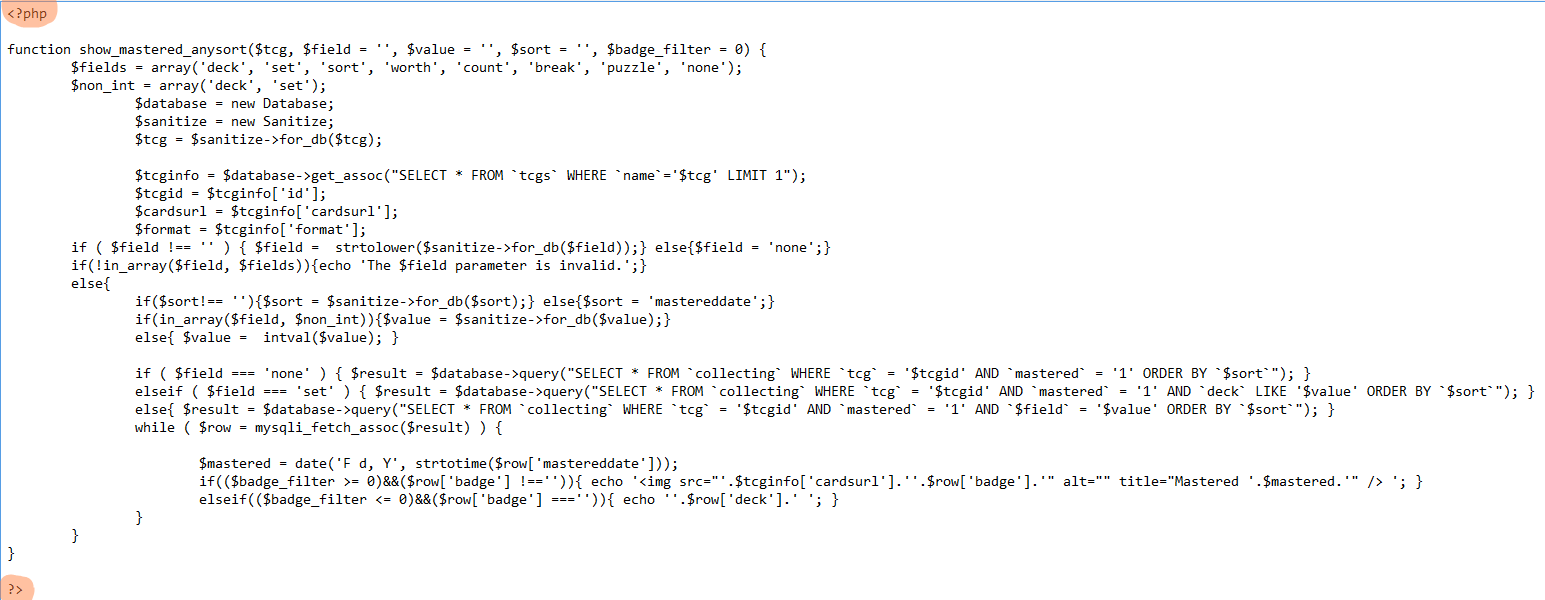
Next, open that file up for editing, like you have in our previous steps with mods.php and func.php, and find the page that stores your masteries. Mine looks like this ( I've high lighted the detail we're changing today, which you should have! Or, you should have something similiar! ):
For your 20 card decks, include the following code ( replacing the show_mastered(idolise) code that currently exists ):
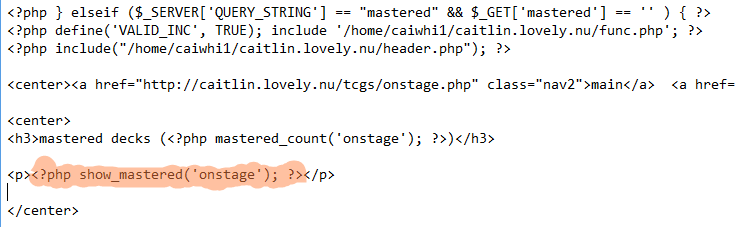
For your 5 card Mini Mastery decks, include the following code ( this code is additional and can even be added to its own page, should you wish to keep your mini masteries ENTIRELY separated from your regular masteries ):